2nd Part of the Sew Along
So this is the 2nd part of the sew along.
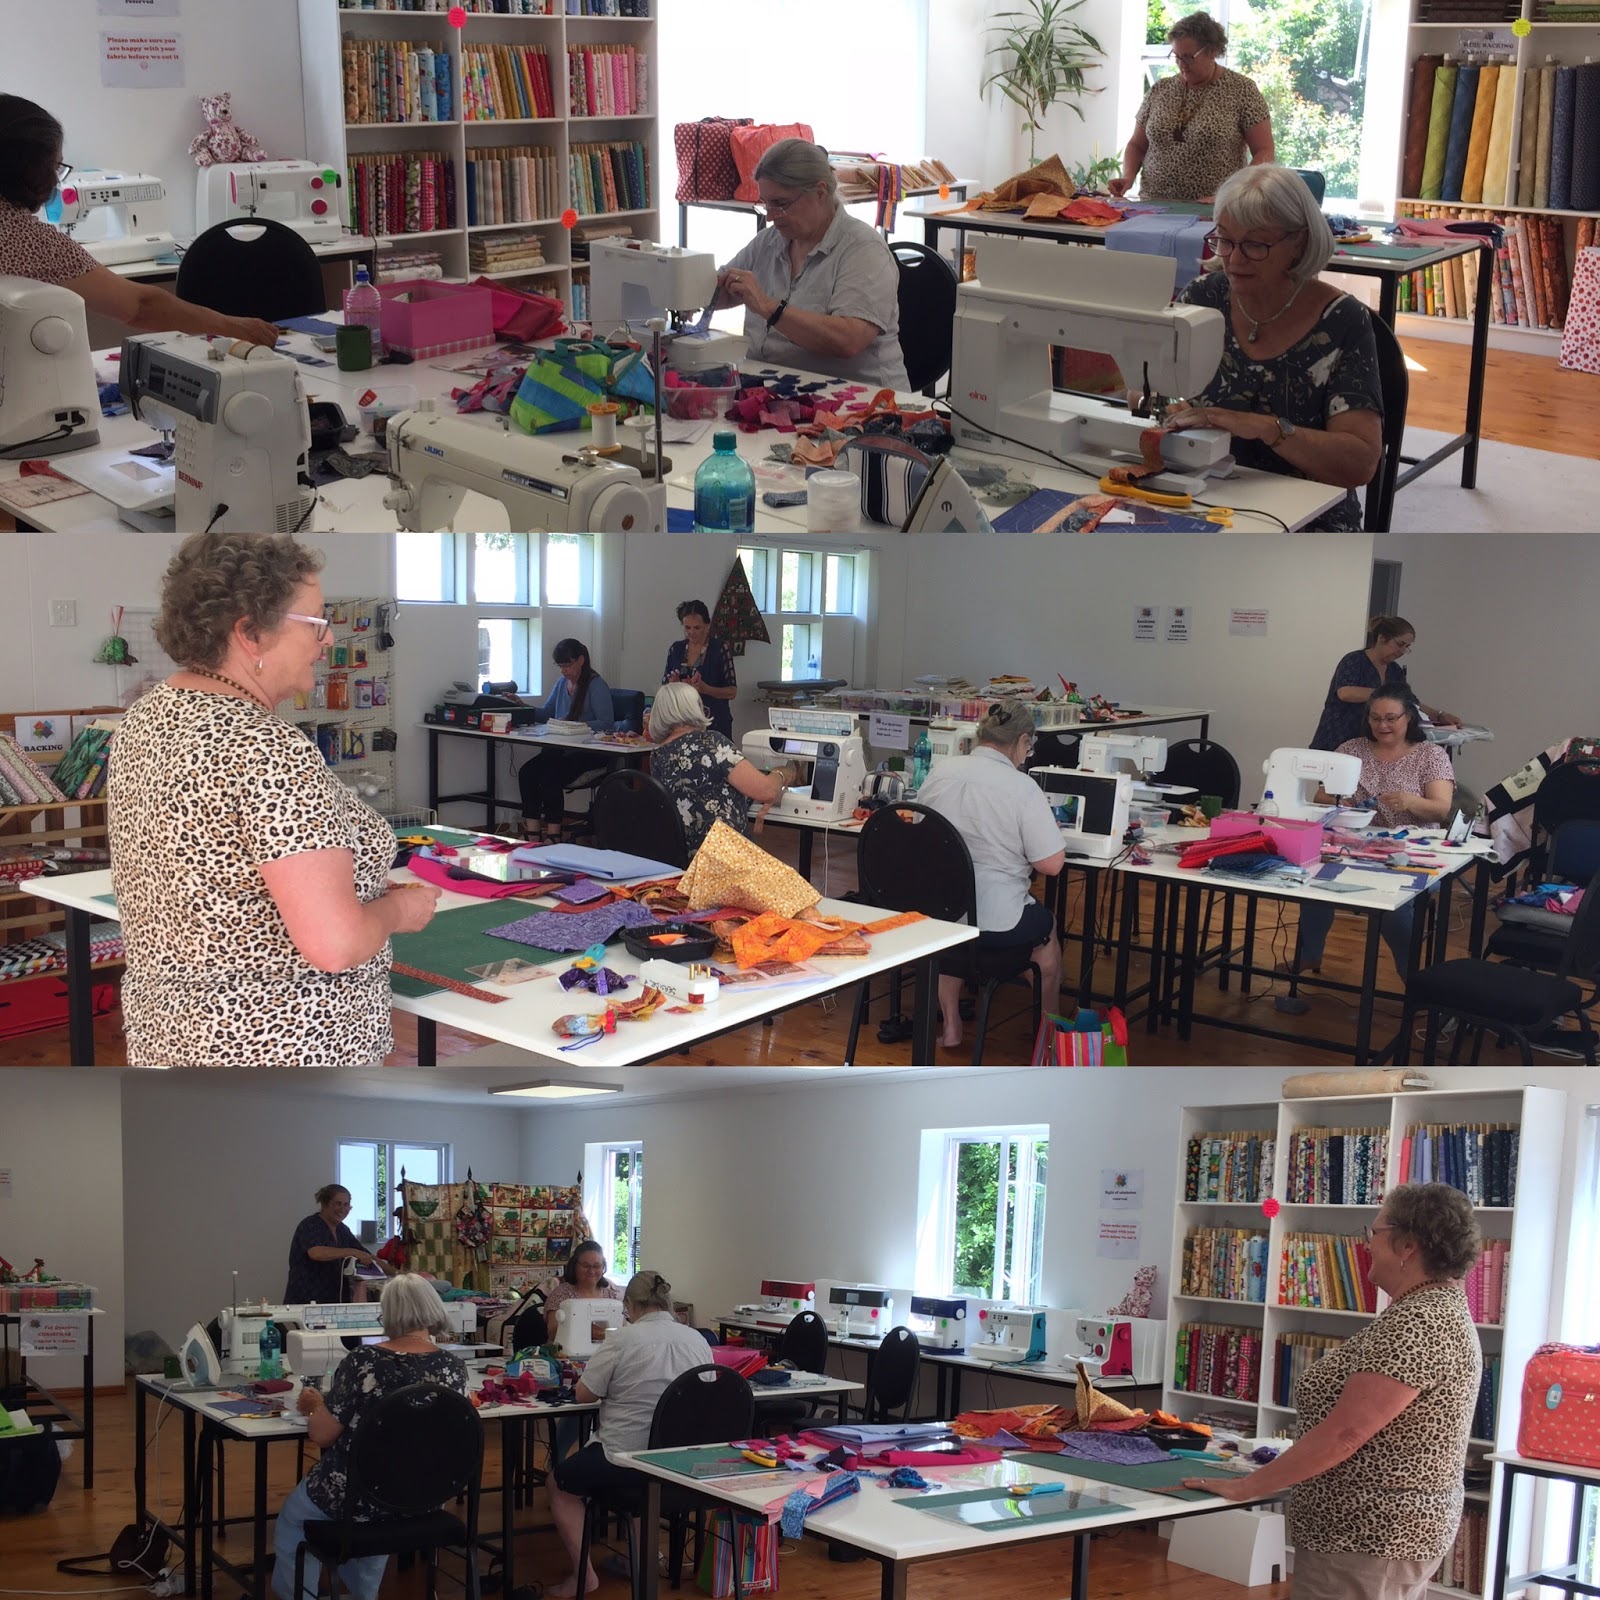
This is a recap of what I did last Saturday at our quilt meeting.
It was preparing shapes for applique using tin foil. I can't remember where I saw this tutorial but it was for circles and I thought it would be a great way to prepare the orange peel shape.
Step 1: cut out your template accurately and make sure your edges are nice and smooth. I used 300gsm folding box board card, you can also use old cereal boxes.
Step 2: cut your fabric a quarter inch bigger than template, don't make your seam allowance too big. When you fold this around the template you want a nice smooth edge.
Step 3: cut your tin foil about half an inch bigger that your template.
Spritz the fabric lightly with a starch solution ( I mixed 1 cup of water with 1 Tablespoon of corn starch, make sure you give the solution a good shake before spritzing as it can settle at the bottom of the bottle)
Fold the tin foil around the template and fabric along the 1 side. Press with a hot dry iron. The tin foil holds your fabric in place and the spray starch gives the fabric body so that when it dries it is a nice crisp edge.
Fold over the other side over the template making sure that you have nice sharp points. Give it another press on both sides of the shape.
Let the shape cool before you remove the tin foil as it can get quite hot from the iron.
Remove the template carefully and and give it another press, your shape is now ready to use.
Next week I will post on how to applique your shapes onto the background square.
This is a recap of what I did last Saturday at our quilt meeting.
It was preparing shapes for applique using tin foil. I can't remember where I saw this tutorial but it was for circles and I thought it would be a great way to prepare the orange peel shape.
Step 1: cut out your template accurately and make sure your edges are nice and smooth. I used 300gsm folding box board card, you can also use old cereal boxes.
Step 2: cut your fabric a quarter inch bigger than template, don't make your seam allowance too big. When you fold this around the template you want a nice smooth edge.
Step 3: cut your tin foil about half an inch bigger that your template.
Spritz the fabric lightly with a starch solution ( I mixed 1 cup of water with 1 Tablespoon of corn starch, make sure you give the solution a good shake before spritzing as it can settle at the bottom of the bottle)
Fold over the other side over the template making sure that you have nice sharp points. Give it another press on both sides of the shape.
Let the shape cool before you remove the tin foil as it can get quite hot from the iron.
Remove the template carefully and and give it another press, your shape is now ready to use.
Next week I will post on how to applique your shapes onto the background square.


Comments
Post a Comment